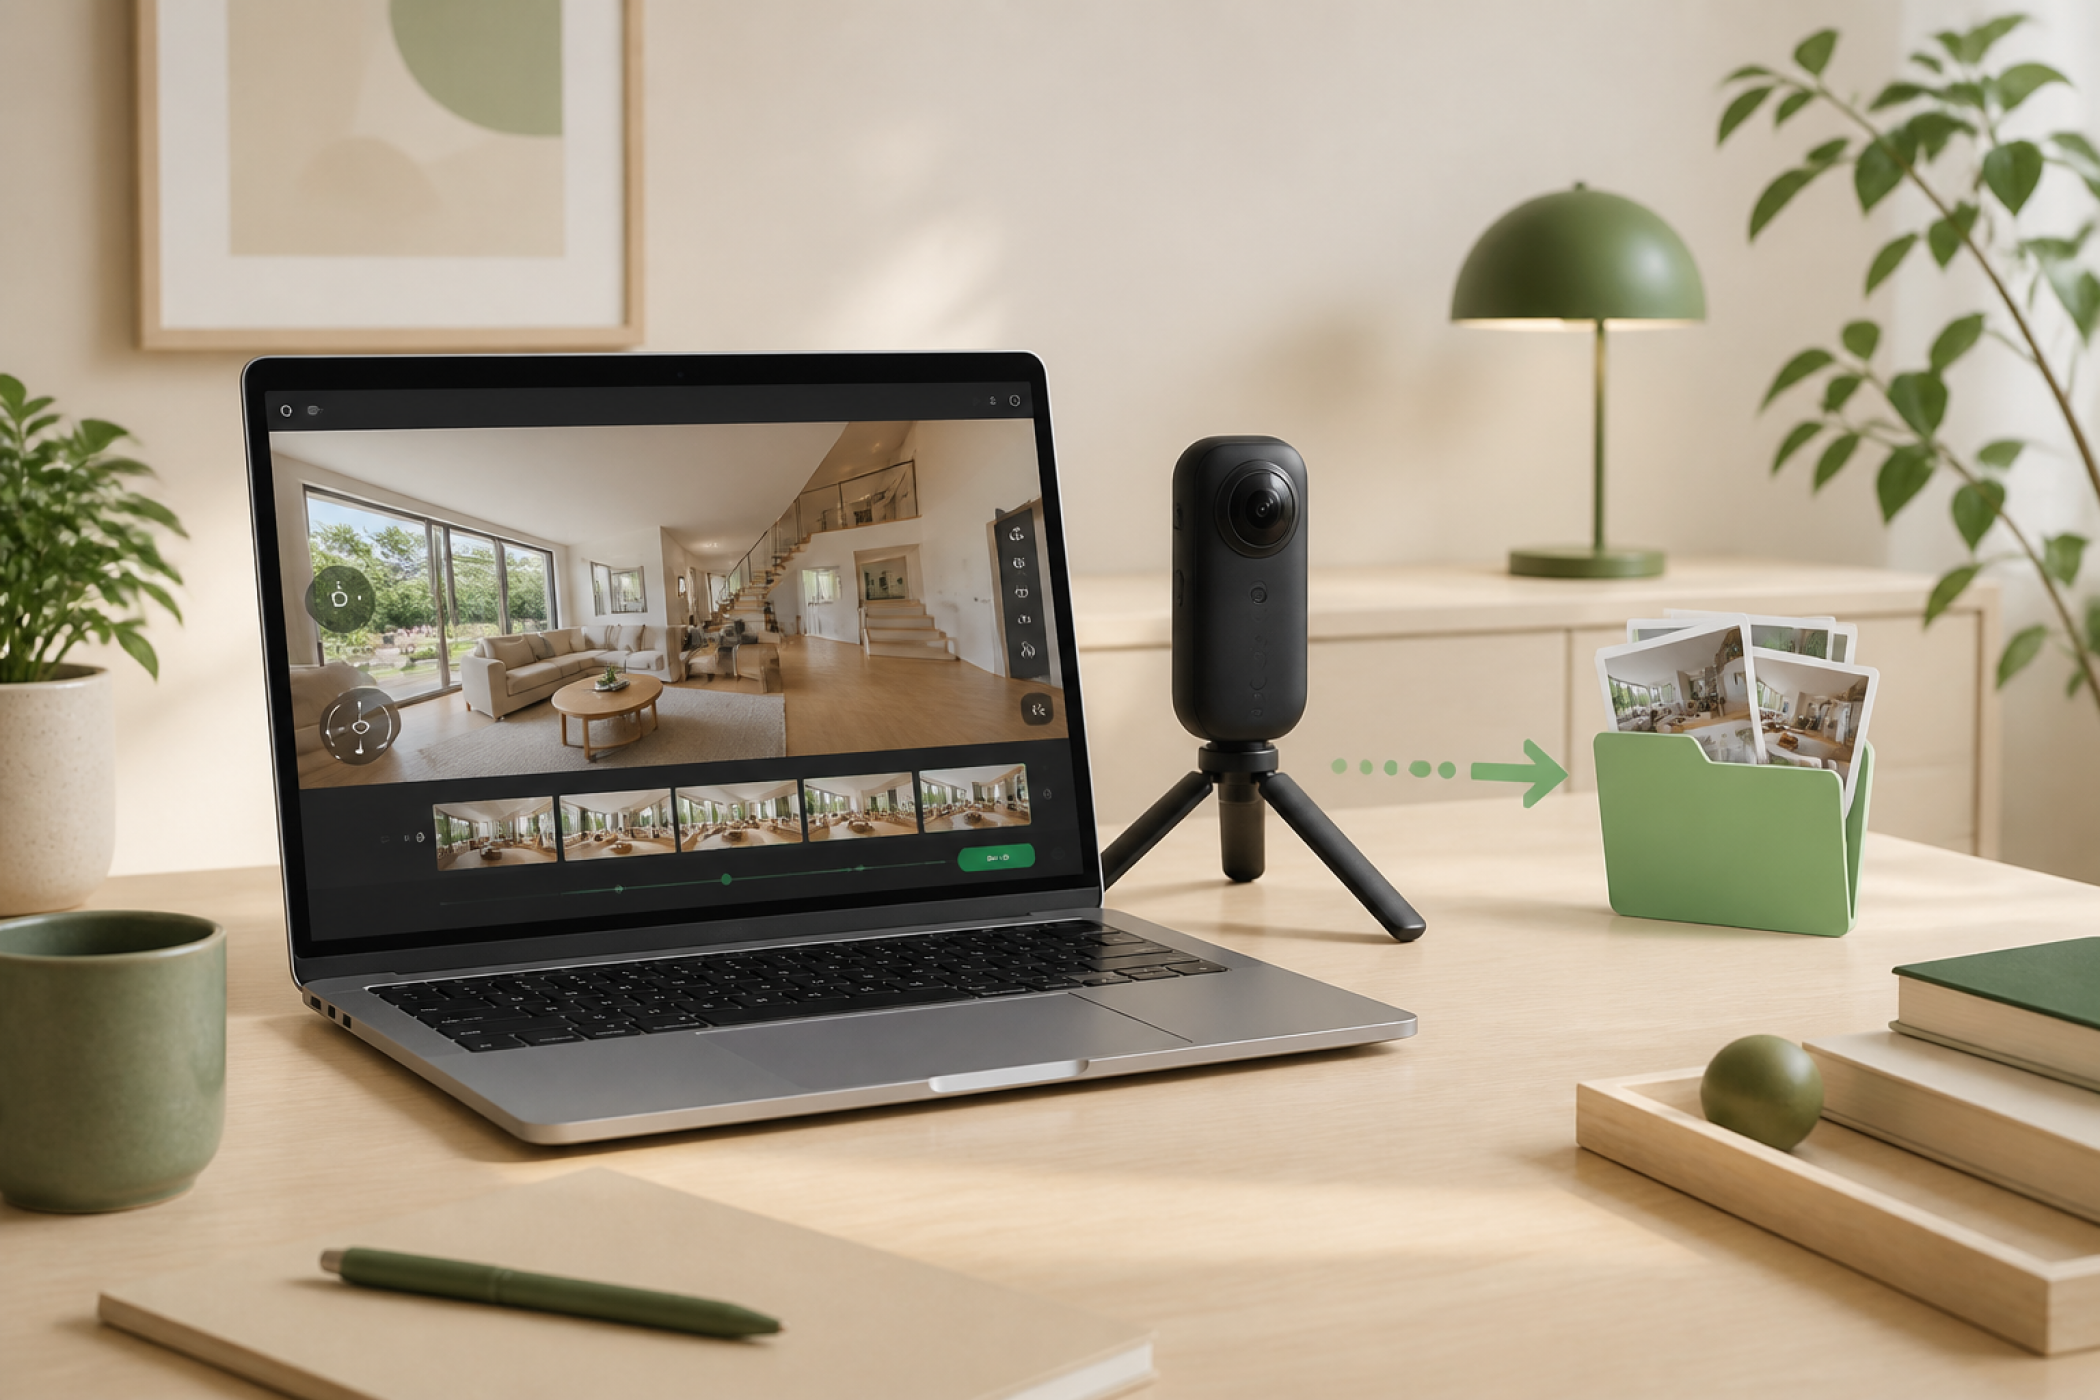
Creating a virtual tour is easier when each step has a clear purpose: capture the space, assemble the experience, export the finished files, and publish the result somewhere reliable.
This guide focuses on the practical workflow a real estate photographer, tour creator, or small team can follow before sending a tour link to a client.
Choose Your Equipment
Start with the camera and support gear that match the space. A dedicated 360 camera is usually the fastest option for real estate and venue tours, while a DSLR or mirrorless setup can give more control when image quality is the priority.
Bring a stable tripod, spare batteries, enough storage, and a simple shot list. Consistent camera height and clean room preparation matter more than adding complexity too early.
2. Capture 360° Photos
Move through the property in the same order a visitor would naturally explore it. Capture each room from a clear central position, then add extra viewpoints for transitions, large spaces, outdoor areas, or important details.
Check exposure, reflections, and privacy-sensitive details before leaving the location. Small mistakes are much easier to fix during capture than after the tour has been built.
Stitch and Edit Your Images
Use your camera software or editing workflow to stitch the panoramas, level horizons, balance color, and remove obvious distractions. The goal is a clean set of images that feels consistent from room to room.
Keep edits realistic. Virtual tours are most useful when they help viewers understand the actual space, not when they make the property feel different from the visit.
Customize the Tour Experience
Import the panoramas into a tour editor such as Pano2VR, then connect scenes with hotspots, labels, maps, floor plans, or navigation controls. Start simple and make sure movement through the tour is easy to understand.
Before export, test the tour on desktop and mobile. Confirm that important rooms are reachable, labels are readable, and the opening view shows the property clearly.
Export Your Virtual Tour Files
Once the tour is ready, export the finished project as a web-ready folder or archive. Keep the output organized so files, images, scripts, and assets stay together.
This exported package is what hosting tools need. Avoid renaming or removing generated files unless your tour editor documentation says it is safe.
Publish Your Virtual Tour Online
The final step is hosting the exported tour somewhere that gives you a stable link. That link can be shared with clients, added to listings, placed on websites, or sent in email campaigns.
Virtual Tour Host is being built around this publishing step: take a finished tour export, host it reliably, and make it easier to share without asking creators to manage servers themselves.